Turn a one-off image into a reusable character direction
A memorable character is a system of repeatable choices, not a list of decorative adjectives. Build the identity in layers, record the stable traits, and use each new generation to answer one design question rather than trying to finish the entire character in one square image.
Build an identity hierarchy
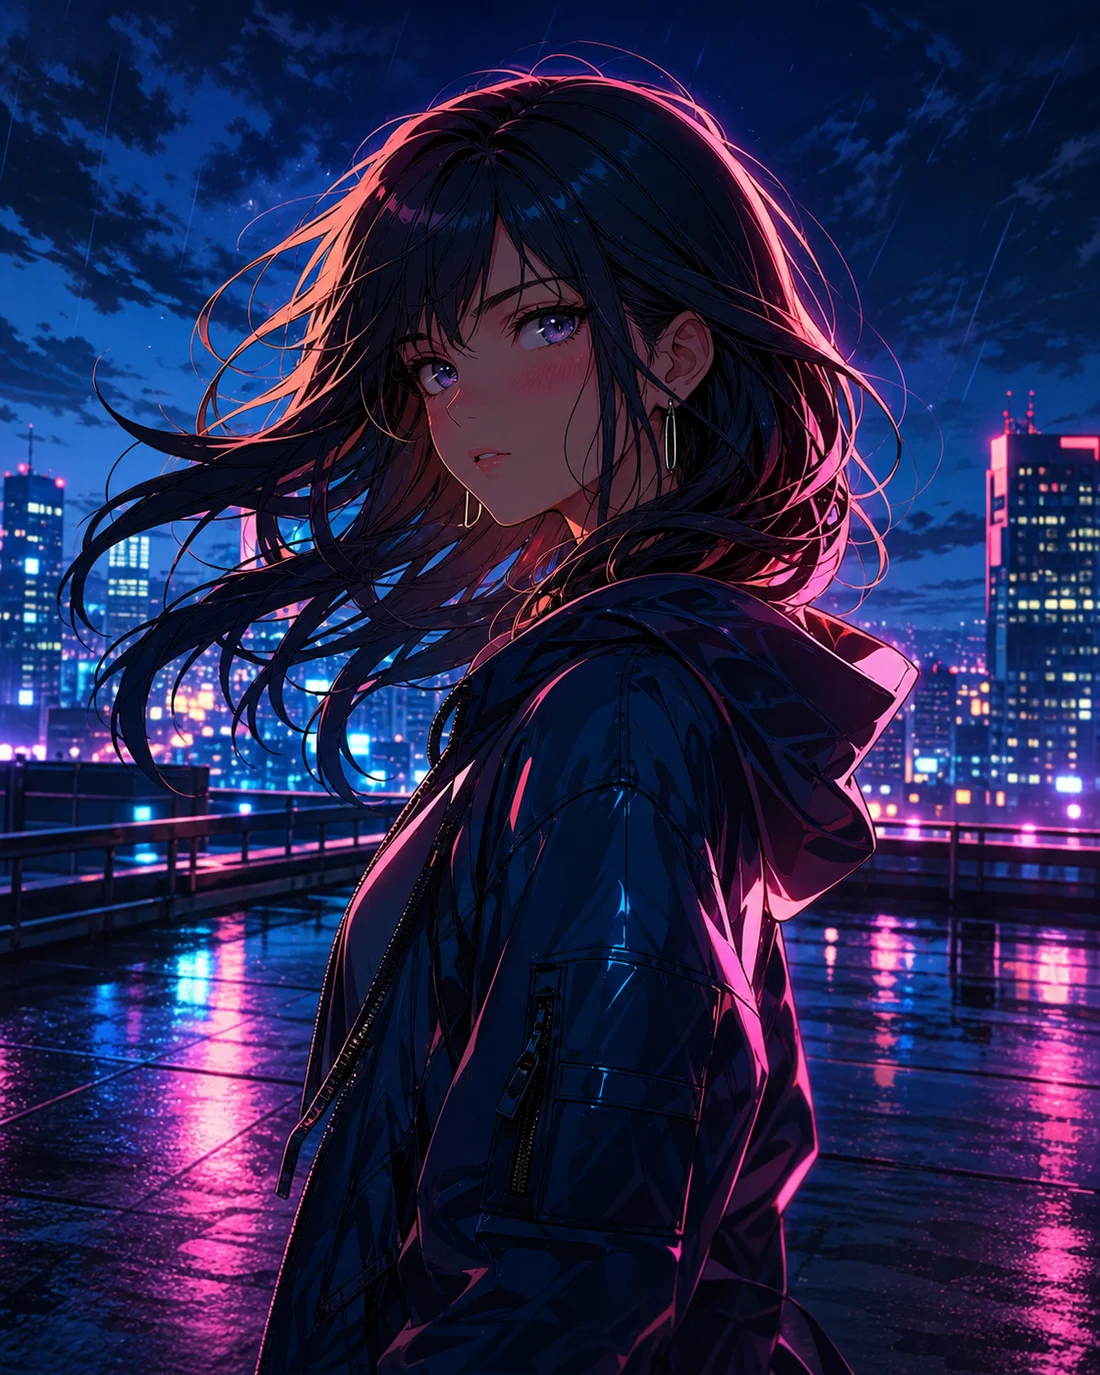
Start with the information viewers notice in sequence: silhouette, face and hair, large clothing shapes, palette, then signature details. Give the character a clear role and temperament because those choices affect posture, expression, and costume logic. “Reserved rooftop courier with cropped silver hair, amber eyes, an oversized navy jacket, orange utility strap, and a chipped star pin” is easier to repeat than a long inventory of unrelated ornaments. Limit permanent signature details to two or three. When every buckle, tattoo, charm, weapon, fabric, and color is described as essential, the model has no useful hierarchy and later versions become harder to compare.
Use silhouette and palette as recognition anchors
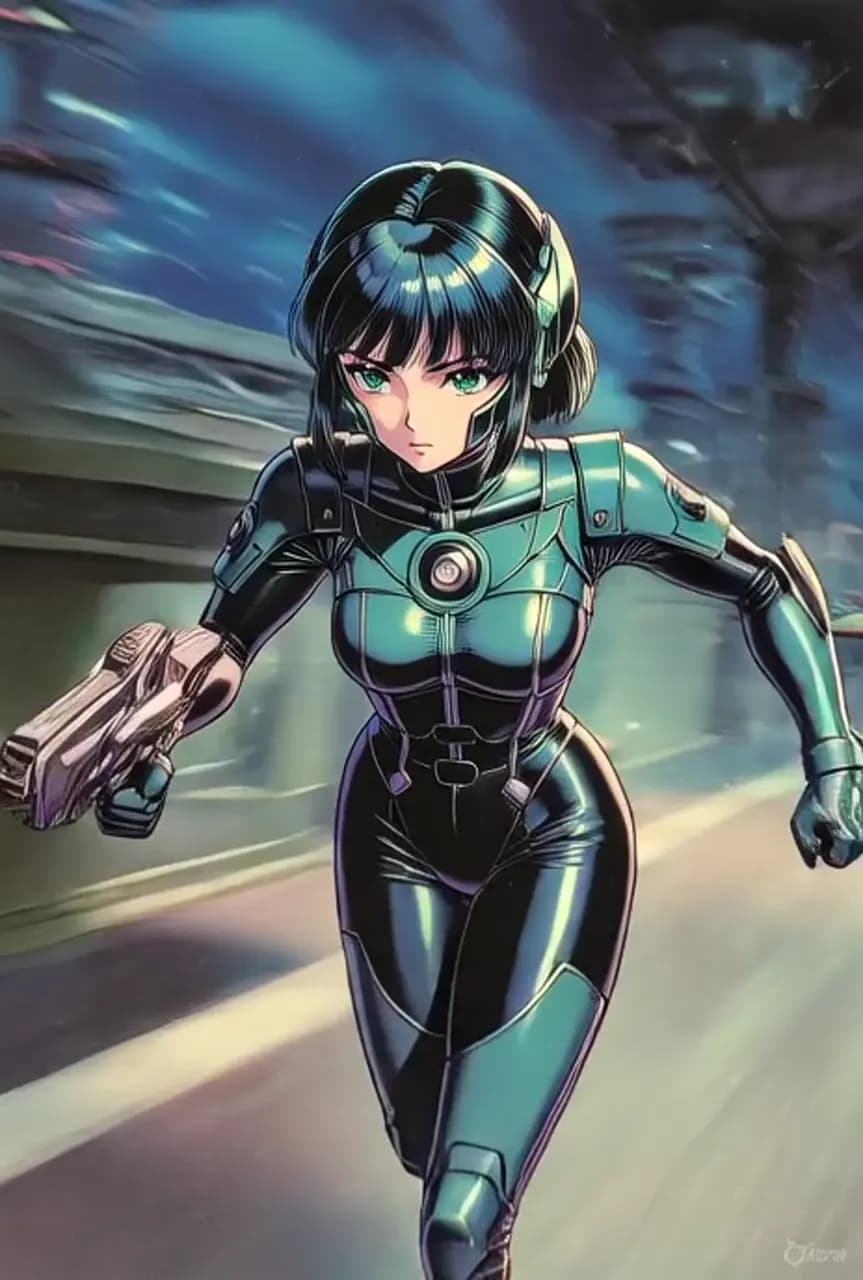
Faces receive attention, but a character also has to read at thumbnail size and from a distance. Choose one dominant outer shape: broad jacket, narrow school uniform, triangular cape, heavy boots, tall ears, or a compact mecha frame. Pair it with a restrained color system—one dominant hue, one supporting neutral, and one accent is often enough for an early concept. State where the accent appears instead of merely listing colors. These anchors make the character easier to recognize when expression, pose, crop, or lighting changes, and they expose whether the design depends on tiny details that will disappear in animation, comics, or mobile layouts.
Create and preserve an identity block
After selecting a promising result, write a short identity block containing the unchanged facts: apparent age range, face shape, eye color, hairstyle, body build, core outfit, palette, and signature items. Reuse that block verbatim at the start of later prompts. Put variables—expression, action, camera view, weather, location—after it. This does not train or lock a private character model, and exact continuity is not guaranteed, but it reduces accidental drift and gives you a consistent review checklist. Save the prompt beside the chosen image; relying on memory usually turns precise traits back into vague descriptions after a few iterations.
Design expressions and poses in controlled passes
Do not request six poses, eight emotions, front and back views, weapon callouts, and written labels in the first image. Establish the neutral face and outfit first. Next, test a small expression range using the same crop. Then test one full-body standing pose before moving into action. This sequence separates identity problems from anatomy or staging problems. When requesting a reference-sheet-style draft, use a plain background and limit the number of views. Treat the result as visual exploration, not an authoritative production turnaround: side views, accessories, hands, and repeated costume details can contradict one another inside a single generated sheet.
Prepare a human-readable handoff
If the character will continue into a comic, game, animation, commission, or brand system, convert the strongest exploration into a compact design record. Include the selected image, identity block, front-facing color swatches, clothing notes, prohibited changes, and a short personality or movement note. Mark uncertain details as open decisions instead of letting one AI artifact define them accidentally. A human artist can then redraw turnarounds, resolve construction, verify anatomy, and standardize expressions. Also review whether names, symbols, uniforms, or silhouettes resemble protected characters too closely; originality is a design requirement, not something the generator can certify for you.