

01
Start from the target game scale
A sprite designed for 32 pixels needs different information from a 256-pixel portrait. Decide the intended footprint first, even though this generator returns a larger concept image.
Anime pixel art generator
Explore readable pixel-style characters and scenes before rebuilding them on a production grid.
The starter prompt defines silhouette, palette, scale, and pose. Replace those art-direction choices, then plan a manual grid cleanup if the result will become a game asset.
Higher-detail generation for paid plans
Example outputs
What one focused input can produce
Standard image
Advanced image
Output
one 1024 × 1024 raster concept rendered with hard edges, a limited palette, and pixel-style clusters
Best for
visual exploration, character portraits, game moodboards, stream graphics, icons, and references for manual sprite work
Not designed for
guaranteed pixel-perfect grids, tilemaps, transparent sprite sheets, animations, or production-ready game assets
Readable pixel art begins with constraints. Decide what must remain recognizable before asking for texture, lighting, or small costume details.
01
A sprite designed for 32 pixels needs different information from a 256-pixel portrait. Decide the intended footprint first, even though this generator returns a larger concept image.
02
Good pixel art uses grouped shapes, selective highlights, and controlled stair-step edges. Terms such as limited palette, clustered shading, hard edges, and no smoothing provide better direction than “8-bit” alone.
03
Resize with nearest-neighbor sampling, choose a real grid, remove stray colors, repair clusters, and redraw key contours. That manual pass turns a pixel-style concept into a dependable asset.
01
Decide whether you need a portrait, prop, environment concept, icon, or reference for a sprite.
02
Specify palette size, silhouette, light direction, edge quality, and background simplicity.
03
Avoid tiny accessories and crowded scenes until the main form works.
04
Use nearest-neighbor scaling in a pixel editor and choose the actual production dimensions.
05
Correct clusters and colors, remove the background if needed, then inspect the asset in the game or layout.
“Anime pixel-art-inspired head-and-shoulders portrait of an airship medic, white scarf, teal goggles, 24-color palette, strong three-quarter silhouette, one warm rim light, plain background.”
Why it works: A close crop allows expressive features while the palette and background limits keep the image coherent.
“Pixel-art-inspired abandoned seaside arcade at blue hour, one flickering magenta sign, wet pavement reflections simplified into clusters, limited palette, hard edges.”
Why it works: One colored light and a restrained scene establish a palette guide that can inform manually built tiles.
“Four pixel-art-inspired fantasy tea kettles, original designs, consistent three-quarter view, 12-color shared palette, separated on dark solid background, no labels.”
Work through grid cleanup, palette reduction, transparency, animation alignment, export scale, and engine testing in the order your asset requires.
Pixel-art-inspired generation can establish silhouette, costume, palette, and mood, but the output begins as a high-resolution raster image rather than a controlled low-resolution grid. Decide the intended base size first—such as 32, 48, or 64 pixels tall—and judge whether the main shapes could survive at that scale. Ask for large clusters, hard edges, limited shading steps, and a clean background. Fine painterly texture may look attractive in the preview but turns into noise when reduced.
A useful sprite reads from its outline before facial detail is visible. Separate hair, body, limbs, weapon, and ground contact with distinct value groups. Avoid thin accessories that collapse during reduction. If the character is intended for movement, keep the pose balanced enough to derive idle and walk frames later. The generator can propose a direction, but a pixel editor is still needed to place every final pixel, repair tangents, and control transparency.
The generated marks may not align to one uniform low-resolution grid and can contain inconsistent pixel sizes.
The tool does not guarantee aligned frames, stable pivots, animation timing, or consistent proportions across poses.
Ask for a plain background, then remove and clean it in an editor if transparency is required.
A requested 16-color palette is a creative direction, not an exact indexed palette. Quantize and correct colors manually.
Reviewed 2026-07-22 · Anime Maker product and editorial team
Page illustrations are editorial examples, not live account task logs. Judge the tool by the result shown in your own output panel.
It creates pixel-art-inspired raster concepts. Pixel size, grid alignment, and palette count are not guaranteed, so production assets need a manual cleanup pass.
It may visualize multiple poses, but it does not guarantee frame alignment, consistent anatomy, transparent backgrounds, or animation-ready sequencing.
Specify the asset role, subject silhouette, palette size, hard edges, clustered shading, light direction, background, and details that must remain readable.
Use the generator to explore the silhouette and palette, then validate every production pixel in a dedicated editor.
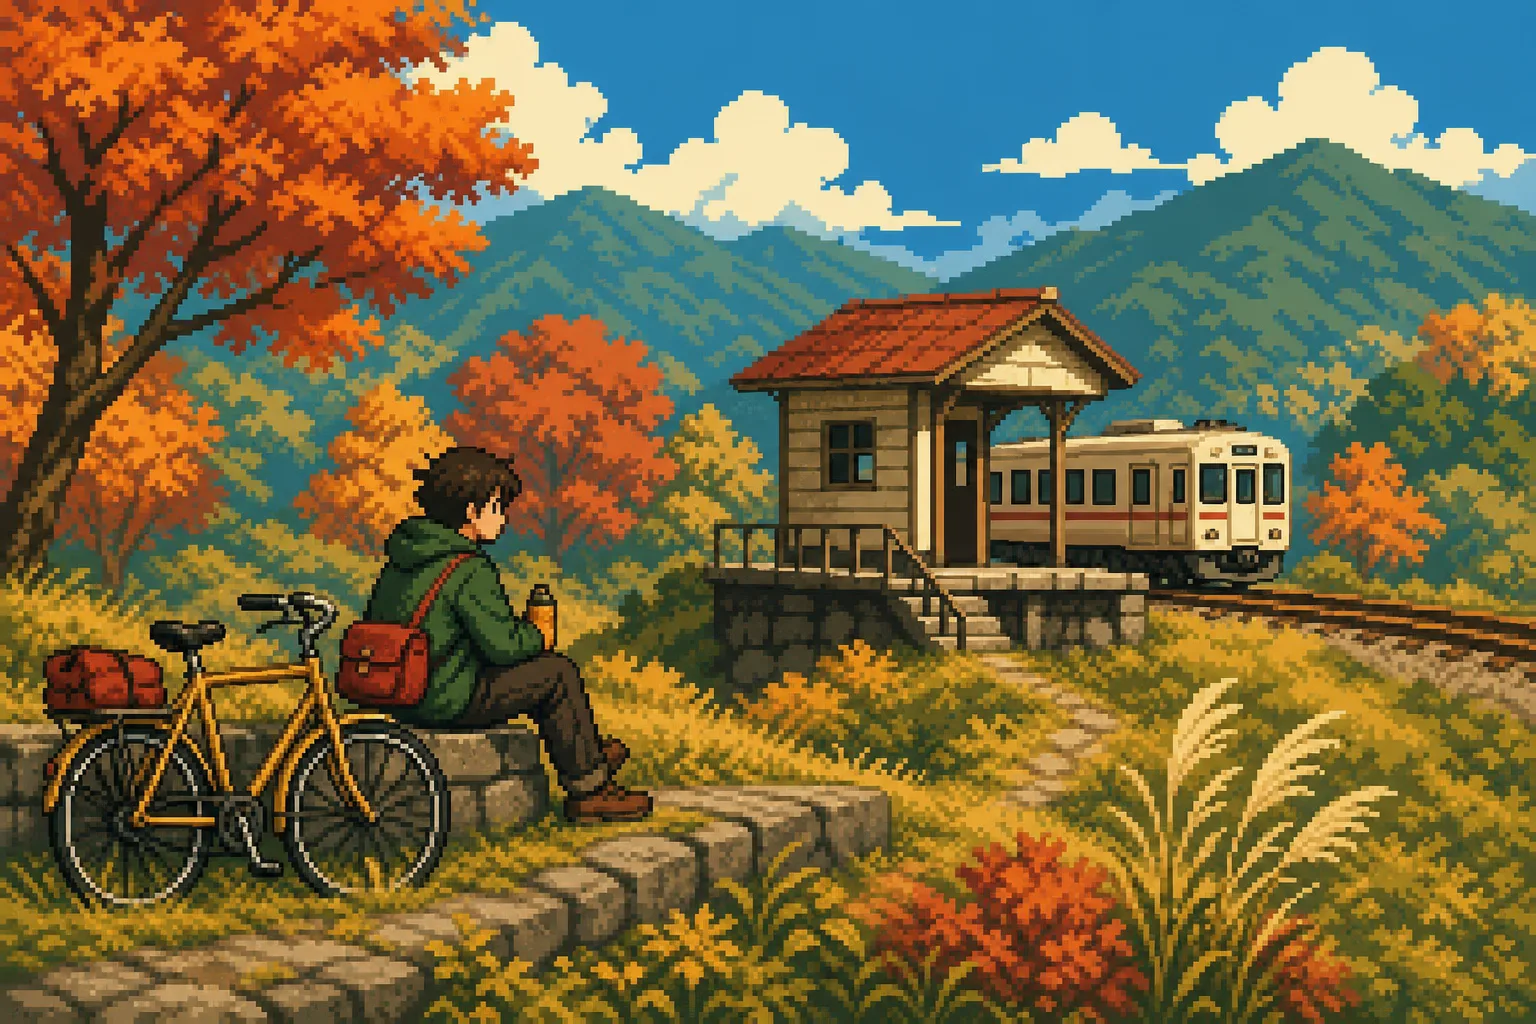
Create a pixel-style conceptA restricted autumn palette and large readable shapes show the value of cluster design before detailed sprite cleanup.
Why it works: Consistent view and spacing make the result useful for selecting a silhouette, though each prop still needs manual extraction.
Choose a compact palette with a clear job for each color: outline, deep shadow, local colors, light, and one accent. Similar colors that do not create a visible value step waste palette space. Review the concept in grayscale and at actual game size, then rebuild the strongest clusters manually. Avoid automatic smoothing during resize; use nearest-neighbor scaling so edges remain crisp. Anti-aliased halos and semi-transparent fringe pixels should be removed before export.
Pixel clusters should describe volume with deliberate shapes rather than scattered single pixels. Clean stair-step curves, repeated diagonals, and one-pixel gaps that flicker at normal scale. Dithering can suggest a transition, but it should be patterned and purposeful. For a portrait or static social graphic, some decorative texture is acceptable; for a production sprite, consistency across frames matters more than surface detail in any one image.
The generated image is not a sprite sheet, tile set, animation timeline, collision map, or engine-ready asset. After selecting a concept, redraw it on the chosen grid and create each animation frame with fixed alignment points. Test the sprite against representative backgrounds, UI scale, and camera zoom. A character that reads on a dark mockup may disappear in a bright level, so outline and contrast decisions should be tested in context.
Export with transparency only after checking edge pixels, canvas bounds, pivot location, and frame dimensions. Keep the editable pixel file, palette, and animation timing beside the exported PNG. If the concept will ship in a game, review reference rights and visual similarity before production. Generation is most useful here as a fast source of silhouettes and palette directions; the reliability comes from the manual grid work that follows.
For animation, place every frame over an onion-skin guide and lock the feet, shadow, or another stable pivot before changing the pose. Compare the sprite at 100% scale and while moving; a frame that looks correct in isolation can create a visible jump in the loop. Record frame duration and intended game speed rather than assuming the engine default. These production checks are outside the generator, but they determine whether a promising concept becomes a usable asset. Test idle, walk, attack, and hit states together so the silhouette, palette, equipment, and apparent scale do not change between animations. A simple contact sheet often reveals inconsistencies faster than reviewing each loop separately. Check the loop once on the slowest target device as well.
Choose the production grid before redrawing the concept. Define the native sprite dimensions, tile size, camera zoom, and whether the engine will display integer scaling. Place the generated concept beside an empty grid and rebuild large masses first: head, torso, limbs, equipment, and ground contact. Do not trace every high-resolution edge. Translate curves into deliberate stair steps and simplify materials into clusters that remain readable at native size. Preview constantly at 100 percent; working only at 800 percent encourages decorative pixels that vanish during play. Lock the pivot and canvas bounds before creating variants so exported frames do not wobble when the engine swaps textures.
Create a palette document rather than sampling colors independently from every generated image. Name the outline, deepest shadow, local colors, light steps, effects, and UI-safe accent. Test those colors against representative bright, dark, warm, and cool backgrounds. If two colors merge at game scale, change their value relationship before adding hue variation. Reserve the strongest accent for information that deserves attention, such as a weapon edge, spell state, or interaction cue. When different characters share the same scene, compare their palettes together. A beautiful isolated sprite can become unreadable when its outline and local colors match the level art.
Plan animation around readable keys. For a walk cycle, establish contact, passing, and opposite contact poses before drawing in-between frames. For attacks, identify anticipation, strike, recovery, and the frame that communicates impact. Keep the silhouette clear and avoid moving every accessory with the same timing. Secondary motion should support the main action, not create noisy flicker. Review the loop at the intended frame rate and game speed, then slow it down to locate jumps in volume or alignment. Duplicate frames only when a held pose is intentional; accidental duplicates make timing feel uneven. Record frame durations explicitly so another developer can reproduce the approved rhythm.
Prepare engine exports with a written convention. Use consistent file names, frame order, canvas dimensions, pivot coordinates, animation names, and transparent padding. Decide whether the project expects separate PNG frames, a packed sprite sheet, or an atlas generated by the build pipeline. Inspect alpha edges on both light and dark backgrounds to catch halos. Disable smoothing and verify nearest-neighbor filtering in the engine. Test collision and interaction bounds independently from visible pixels; a dramatic weapon arc should not automatically become a permanent collision shape. Import one representative animation early, because an incorrect pivot or scale is cheaper to fix before the full set is drawn.
Run an in-context playtest before calling the asset finished. Check the sprite while standing still, moving, taking damage, overlapping effects, crossing varied backgrounds, and appearing beside UI elements or other characters. Watch from the normal camera distance instead of judging only enlarged screenshots. Confirm that state changes can be recognized without relying solely on color, especially for players with color-vision differences. Review reference rights, accidental resemblance, and any generated symbols before shipping. Keep the concept image as process material, but archive the final grid file, palette, timing chart, engine settings, and license notes as the production source of truth.
Add a technical acceptance sheet for the final asset. Record native dimensions, export scale, color mode, frame count, animation speed, pivot, collision assumptions, file names, atlas group, and engine import settings. Test memory and draw-call impact with representative gameplay rather than one character on an empty scene. Check that transparent padding and oversized sheets are not wasting texture space, and confirm that compression does not introduce blurred edges or color contamination. Capture a short gameplay clip showing every state at normal speed so art and engineering reviewers see the same behavior. If a later edit changes canvas size or pivot, rerun all animations instead of checking only the modified frame. The concept can remain expressive; the shipped asset must also be predictable.
Version the sprite as a production asset. Use a change note that identifies altered frames, palette changes, pivot changes, and required engine updates. Never replace a sheet silently when levels or effects may depend on its dimensions. Compare the new and previous versions in motion, then test save files or prefabs that already reference the asset. Keep deprecated exports long enough for rollback, but mark them clearly so they are not reintroduced. This discipline matters even for a small sprite: visual polish is only useful when the surrounding game can consume the file reliably.
Include the native-scale screenshot and tested engine version in that record so future reviewers can distinguish an art regression from a rendering or import change.
Verify dimensions, scaling mode, alpha, compression, naming, and readability inside the target engine.
Choose a true low-resolution grid in a pixel editor and use nearest-neighbor scaling. Then redraw contours and remove inconsistent micro-detail.
Treat it as concept art until you have reviewed rights, rebuilt the production asset, and tested it in the game. Requirements depend on your provider, plan, and jurisdiction.
Direct visual descriptions create a more original, controllable result and reduce the risk of copying protected characters or a living artist’s recognizable work.