
2026/07/21
How to Create a Comic Strip: A 3–6 Panel Workflow
Learn how to create a comic strip with a clear setup, turn, payoff, readable panels, consistent characters, clean lettering, and publish-ready checks.
To create a comic strip, reduce the idea to one visible change, assign one story job to each panel, thumbnail the reading order, keep the cast and props consistent, then add final dialogue in an editor. For a 3–6 panel strip, the hard part is not fitting in more plot. It is choosing the exact moment that earns the last panel.
This guide is for creators making short strips for a social post, classroom explanation, newsletter, pitch, or recurring character series. It covers a practical production loop from premise to publishing check. Anime Maker can help draft one square 3–4 panel composition, but it does not produce editable panels, dependable final lettering, or a complete comic book. Those limits shape the workflow below.
Quick plan: Write a one-sentence premise, map setup–turn–payoff across 3–6 boxes, thumbnail at phone size, prepare an unlettered art draft, add dialogue manually, and run a story–continuity–text–export review.
In this guide
- Choose one moment, not a whole plot
- Build a three-beat comic strip
- Assign one job to every panel
- Thumbnail the reading order
- Write dialogue that fits
- Keep characters consistent
- Draft the art with Anime Maker
- Letter and publish the final strip
1. Choose one moment, not a whole plot
A short comic strip is a container for one change. A character expects one thing and discovers another. A plan meets an obstacle. A repeated action breaks its pattern. The final panel does not need to be a joke, but it should change how the reader understands the panels before it.
Start by writing this sentence:
[Character] tries to [visible goal], but [specific interruption], so [final reaction or consequence].
For example: “A nervous apprentice witch tries to deliver a humming parcel, but the recipient is a tiny dragon throwing itself a birthday party, so she stays for cake.” The sentence contains a protagonist, an action, an interruption, and a final emotional choice. It also suggests repeatable visual anchors: yellow coat, glowing parcel, crooked tower, small dragon.
Now test the scope. Can the reader understand the setup without a paragraph of lore? Can the interruption be drawn rather than explained? Can the consequence land in one image? If the answer is no, narrow the premise. “A detective exposes a citywide conspiracy” is too broad for four panels. “A detective follows muddy footprints and finds her missing dog wearing her hat” is drawable.
Choose a strip length based on the beat, not habit:
| Panels | Useful structure | Best fit |
|---|---|---|
| 3 | setup → change → payoff | one clean reversal or reaction |
| 4 | setup → attempt → turn → payoff | a small action with one complication |
| 5 | setup → two escalating attempts → turn → payoff | a pattern that needs variation |
| 6 | setup → build → midpoint change → response → result → tag | a slightly more emotional or instructional sequence |
If the idea needs scene changes, a subplot, or several major decisions, move it to the AI comic generator workflow or write a longer script. A comic strip should not pretend to be a compressed comic book.
2. Build a three-beat comic strip
Even when the strip has six panels, its spine can usually be described as setup, turn, payoff. This three-beat structure gives the reader a stable starting point, a meaningful change, and an ending worth reaching.
Setup: create a clear expectation
The first panel answers three questions quickly: who are we following, where are they, and what are they doing? Use an establishing or medium shot with one dominant action. A cluttered opening makes every later surprise harder to read.
Avoid starting with an explanation such as “As you know, I have delivered magical parcels for ten years.” Show the coat, parcel, rain, address, and worried face. If context is still needed, one short caption can establish time or place.
Turn: change the situation
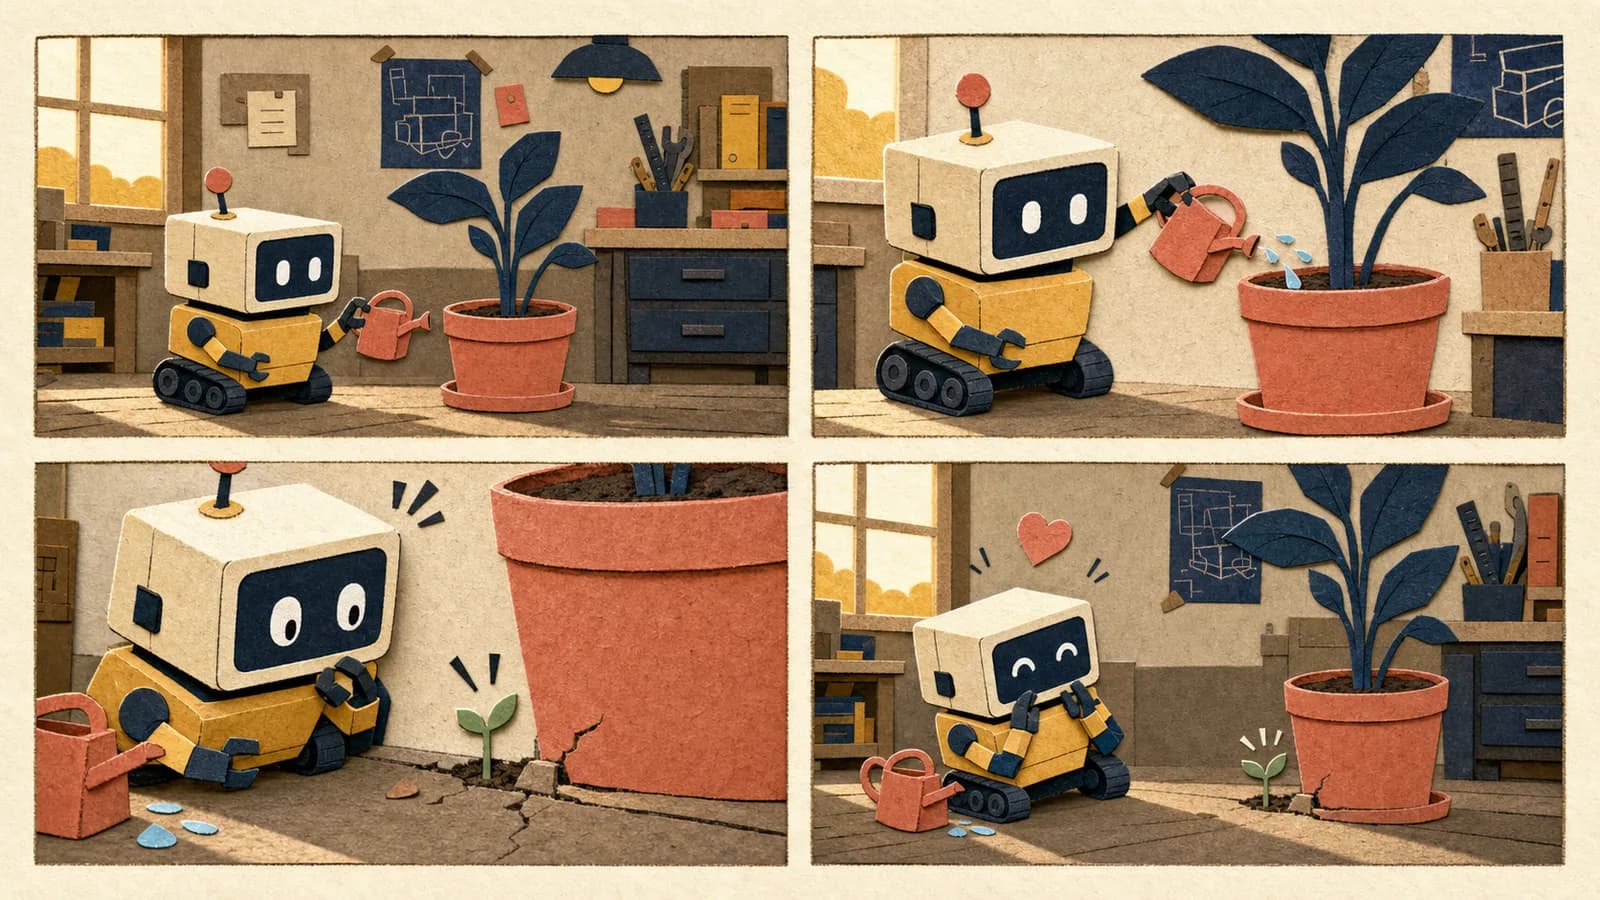
The turn is not simply “something else happens.” It changes the character’s information, control, goal, or emotion. The parcel hums. The plant answers. The customer is the monster. The supposedly broken robot protects a sprout.
Place the clearest reveal after the reader has seen the evidence needed to appreciate it. In four panels, the turn often lands in panel 3. In a six-panel strip, it can land in panel 4, leaving room for a reaction and a final tag.
Payoff: answer the opening promise
The payoff should be visually specific. “They are surprised” is an instruction; “the courier silently adds a birthday candle to the parcel” is a panel. The strongest endings often use a changed prop, expression, posture, or repeated composition rather than a long speech.
A comic payoff can be funny, tender, informative, alarming, or quietly ironic. The test is the same: if you remove the last panel, does the strip lose its point? If not, the ending is probably an extra beat rather than a payoff.
3. Assign one job to every panel
Write a beat sheet before writing an image prompt. Number the panels and give each one a story job, shot, visible action, and continuity note.
Here is a four-panel example:
| Panel | Story job | Shot and action | Must remain consistent |
|---|---|---|---|
| 1 | establish | wide shot: witch approaches crooked tower in rain | yellow coat, parcel under left arm |
| 2 | complicate | close-up: parcel glows and hums | same red cord and moon label |
| 3 | reveal | over-shoulder: door opens onto warm room | tower door on left, coat still wet |
| 4 | payoff | medium shot: tiny dragon waits beside one cupcake | parcel open, dragon reaches up |
Read only the “story job” column. If two panels do the same job, combine them or make the second one escalate. Then read only the actions. Each panel should contain one moment that can be frozen. “She opens the door, walks inside, talks to the dragon, and eats cake” asks one image to represent time passing.
Vary shot size with purpose. A wide shot locates the action, a medium shot shows body language, a close-up highlights evidence or emotion, and an over-shoulder shot can connect two characters. Random camera changes feel restless; identical framing can make the strip flat. Change the shot when the reader needs different information.
For an educational strip, the same structure still works. A four-panel water-cycle strip might establish sun on a pond, show vapor rising, reveal cloud formation, then show rain returning to the pond. The payoff is understanding, not a gag. Keep labels out of the generated art and add accurate terms later.
4. Thumbnail the reading order
A thumbnail is a rough plan small enough to reveal composition problems before they become expensive. Draw 3–6 rectangles, place the largest shapes, reserve dialogue space, and mark the eye path. Circles, arrows, and stick figures are sufficient.
For a left-to-right strip, test whether the gaze naturally moves from the upper-left area of one panel toward the next. For right-to-left publishing, reverse that logic from the beginning; do not mirror finished art if props, text, handedness, or directional clues matter.
Keep gutters unmistakable. Clip Studio Paint’s official Frames and Panels manual treats frames as editable structures and provides separate horizontal and vertical gutter controls. You do not need that software to use the principle: spacing between panels must look intentional and consistent, so readers do not mistake two moments for one image.
Run three thumbnail tests:
- Squint test: Can you see which panel is the visual focus?
- No-text test: Can you follow the action without dialogue?
- Phone test: At the expected feed width, are faces, props, and panel order still readable?
Do not wait until export for the phone test. A strip designed at desktop zoom may turn into four tiny, equally dense boxes on a mobile screen. Simplify backgrounds in small reaction panels and give the payoff enough visual weight.
5. Write dialogue that fits
Write dialogue after the beat sheet and before final art. It must fit the available space, but it also helps determine where faces and hands can go. Treat every balloon as part of the composition.
Start with a plain script table:
| Panel | Speaker | Draft line | What the image already says | Revision |
|---|---|---|---|---|
| 1 | Witch | “I hate making deliveries in the rain.” | rain and discomfort are visible | “Last stop.” |
| 2 | Witch | “Why is this parcel making a humming sound?” | parcel visibly hums | “Please be socks.” |
| 4 | Dragon | “You came to my birthday celebration!” | cake and hat show a party | “You came!” |
Read the revised lines aloud. If a sentence needs a breath halfway through, consider two balloons or fewer words. Keep the tail clearly tied to its speaker and place balloons in reading order before polishing the drawing. Clip Studio Paint’s official Balloons documentation shows balloons and tails as editable objects; that editability is the production advantage you want from any lettering tool.
The manga speech bubble generator can create a visual reference sheet for speech, thought, shout, and narration shapes. It does not place editable dialogue onto an uploaded comic. Use it to compare shape directions, then build the final balloons and type in an editor.
Avoid asking an image generator for exact finished sentences. Generated lettering may be malformed, misspelled, or fused into the art. Ask for clean negative space or empty balloon areas instead. Add the final text after the image is approved so spelling, font size, translation, and accessibility remain under your control.
6. Keep characters consistent
Readers notice identity drift quickly in a short strip because the panels sit next to one another. Define a small set of continuity anchors before making the art:
- hair shape and color;
- face shape or one distinctive mark;
- clothing silhouette and two key colors;
- a signature prop;
- left/right placement of an accessory;
- height relationship when two characters appear.
Create a one-line lock for each character. For example: “Mira: young witch, blunt black bob, amber eyes, yellow raincoat, cyan clip above left temple, glowing parcel under left arm.” Repeat the exact nouns in every panel instruction. Synonym variety is useful in prose, but it can weaken a production specification.
If the character is still undefined, the anime character generator can help explore silhouettes, palettes, outfits, and expressions. It creates one 1024×1024 raster image per generation and does not preserve a trained identity across requests. Select a direction, then make your own reference sheet and continuity notes.
Check sequence facts as well as appearance. Which hand holds the parcel? Is the door hinged on the same side? Did the cup empty between panels? Does the raincoat become dry without a time jump? Keep a short list of state changes:
P1 parcel closed / coat wet / door closed
P2 parcel closed but glowing / coat wet / door closed
P3 parcel closed / coat wet / door open
P4 parcel open / coat wet / candle added
This catches errors that a character portrait cannot.
7. Draft the art with Anime Maker
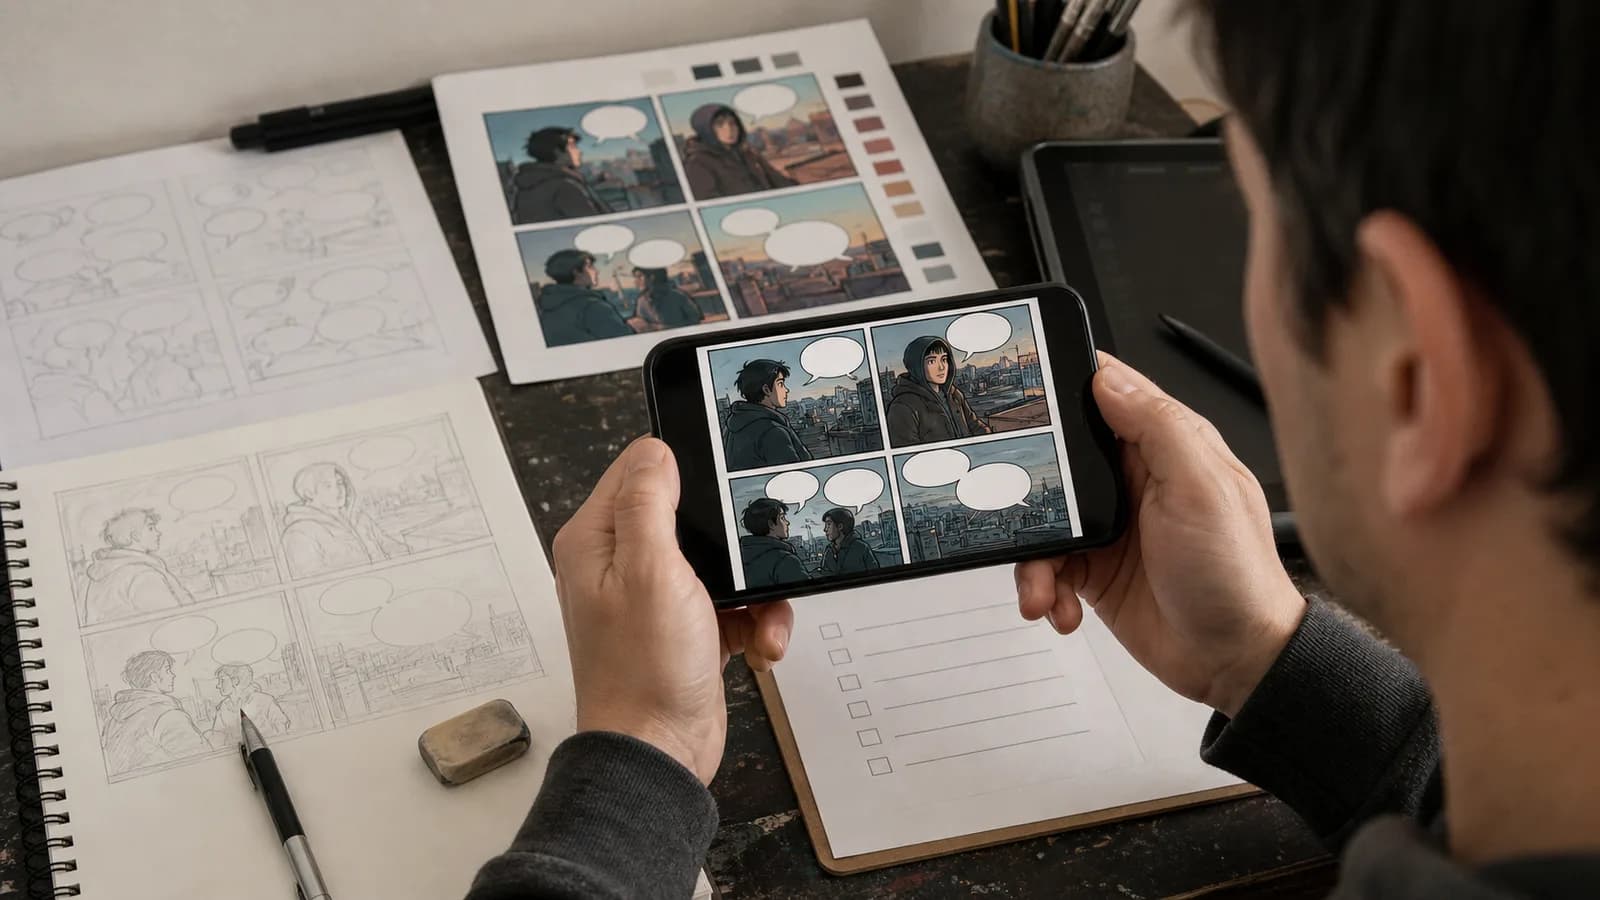
Anime Maker’s comic strip maker produces one 1024×1024 raster image containing a 3–4 panel sequence. It is useful for a story pitch, social concept, classroom example, campaign idea, or early storyboard. It does not return separate editable panels, a reusable character model, print-ready lettering, or automatic multi-page production.
Write the prompt like a compact production brief:
PURPOSE: four-panel square comic strip; warm fantasy twist; no written text.

CAST LOCK: Mira, young witch, blunt black bob, amber eyes, yellow raincoat,
cyan clip above LEFT temple; glowing parcel with red cord and moon label.

PANEL 1 — ESTABLISH: wide shot, rainy evening, Mira approaches a crooked tower.
PANEL 2 — COMPLICATE: close-up, parcel begins to glow; Mira looks worried.
PANEL 3 — REVEAL: over Mira's shoulder, tower door opens, warm light spills out.
PANEL 4 — PAYOFF: tiny dragon beside one cupcake reaches for the parcel; Mira smiles.

LAYOUT: clean gutters, clear left-to-right order, varied shot sizes,
same character and parcel in every panel, simple backgrounds,
leave open space for later dialogue, no captions, no watermark.
Review the first result as a draft, not as proof that the strip is finished. Check panel count, reading order, anatomy, repeated props, costume details, geography, blank text space, and whether the final beat is actually visible. If one issue dominates, revise that instruction first. Changing character, layout, lighting, and ending simultaneously makes it hard to learn what fixed the problem.
When the generation has a strong story sequence but small local errors, compare the cost of repair with a full rerun. Relettering, cropping, repainting a prop, or adjusting color in an editor may preserve a good composition. A major identity change or missing payoff usually calls for another draft.
8. Letter and publish the final strip
Export the approved art into an editor and keep balloons, text, corrections, and the base image on separate layers. If the generated image contains four panels in one raster file, duplicate it before destructive edits. Save an editable master and create delivery copies from that file.
Run four separate review passes
Story pass: Can a new reader state the setup, turn, and payoff? Does every panel change the situation or prepare the next change?
Continuity pass: Check face, hair, costume, props, hands, weather, lighting, screen direction, and state changes. Compare panels side by side at 100% and as a thumbnail.
Text pass: Check spelling, punctuation, speaker ownership, balloon order, line breaks, font licensing, and readability at final size. Read only the balloons once; the conversation should still make sense.
Export pass: Confirm dimensions, file format, color profile, compression, crop, and the latest rules of the destination. Keep a lossless master even if a platform asks for a compressed upload.
Make the strip accessible when publishing online
Do not rely on text embedded in the image as the only version of the dialogue. The W3C Web Accessibility Initiative’s image tutorial recommends text alternatives that convey an informative image’s essential meaning and advises avoiding images of text when regular text can provide the same information.
For a story strip, write alt text that includes the meaningful sequence and ending, not a list of colors. If the platform’s alt field is short, add a visible transcript in the caption or immediately below the image. For the witch example:
Four-panel comic: A rain-soaked witch carries a glowing parcel to a crooked tower. The door opens to reveal a tiny dragon beside a cupcake. The witch hands over the parcel and stays for the birthday.
Localization needs a separate text pass. Keep the source dialogue outside the artwork, allow balloons to expand, and recheck reading order for right-to-left languages. A literal translation may preserve words while losing timing; translate the setup and payoff as a pair.
Check rights before posting
Use characters, photos, fonts, and references you created or have permission to use. A public image is not automatically free to upload into a generator or republish. WEBTOON CANVAS’s current content guidelines require creators to own the relevant rights or have sufficient rights to upload their work.
For U.S. projects involving generative AI, the U.S. Copyright Office’s AI initiative links its 2025 report on copyrightability and explains that questions of human-authored expression are assessed under existing copyright law. Rules differ by country and project; keep your scripts, thumbnails, selections, edits, lettering files, licenses, and source records. This is a practical recordkeeping step, not legal advice.
A 45-minute practice strip
Use this small exercise to finish a complete loop instead of polishing a premise forever:
| Time | Deliverable | Stop condition |
|---|---|---|
| 0–5 min | one-sentence premise | character, visible goal, interruption, outcome |
| 5–12 min | 3–4 panel beat sheet | one job per panel |
| 12–18 min | tiny thumbnail | readable without dialogue |
| 18–23 min | dialogue draft | no line repeats the picture |
| 23–33 min | art draft or generation | setup, turn, and payoff are visible |
| 33–40 min | lettering and corrections | text reads at phone size |
| 40–45 min | export, alt text, rights check | publish copy and editable master saved |
The time box is an exercise, not a production promise. A client strip, translated campaign, or polished recurring series deserves more review. The goal is to expose your real bottleneck: premise, panel clarity, continuity, wording, or finishing.
Comic strip publishing checklist
- The strip contains one main change, not a compressed chapter.
- Each of the 3–6 panels has a distinct story job.
- The reading order works without arrows or explanation.
- The setup, turn, and payoff are visible without long captions.
- Character anchors and prop states remain consistent.
- Exact dialogue was added and proofread outside the generated art.
- Faces, balloons, and key props remain readable at phone width.
- The editable master is saved separately from upload copies.
- Alt text or a transcript conveys the sequence and ending.
- You have permission for the art, references, fonts, and source material.
- The export follows the destination’s current specifications.
- A second reader can explain the strip without coaching.
Frequently asked questions
How many panels should a comic strip have?
Use the fewest panels that make the change understandable. Three panels suit setup–turn–payoff; four add an attempt or reaction; five or six support escalation or instruction. If every panel introduces new lore, locations, or characters, the idea may need a comic page or longer format instead.
How do I make a comic strip if I cannot draw well?
Use simple repeatable character shapes, clear poses, limited backgrounds, and strong expressions. Thumbnail with stick figures first. You can use a generator for visual drafts, but you still need to choose the beats, check continuity, add readable dialogue, confirm rights, and prepare the final export.
Should I put dialogue in the image-generation prompt?
Include the intended meaning or short dialogue notes, but ask the generator to leave clean space rather than render final sentences. Add exact text later in an editor. This prevents malformed lettering and makes proofreading, font changes, accessibility, and translation much easier.
What is the difference between a comic strip maker and an AI comic generator?
A comic strip maker is best for one compact 3–4 panel sequence with a setup and payoff. The AI comic generator is better for broader page and panel concepts. Neither automatically manages a complete book, reusable character model, editable panel files, or final professional lettering.
How can I keep a character consistent across panels?
Lock five or six visible anchors: face, hair, clothing silhouette, key colors, signature prop, and left/right details. Repeat the same wording in each panel direction, record prop state changes, compare all panels side by side, and correct identity drift before lettering.
Can I publish an AI-assisted comic strip?
Publication depends on your rights to every input and asset, the destination’s policies, and applicable law. Use authorized source material, review the platform rules, keep records of your writing and editing, and do not assume that a prompt alone settles copyright ownership or permission.
Sources and further reading
- Clip Studio Paint: Frames and Panels — editable frames, gutters, division, and panel structure.
- Clip Studio Paint: Balloons — balloon layers, tails, sizing, and editing.
- W3C WAI: Images Tutorial — informative images, images of text, and useful text alternatives.
- WEBTOON CANVAS Content Guidelines — current publishing and intellectual-property responsibilities.
- U.S. Copyright Office: Copyright and Artificial Intelligence — official reports on digital replicas, copyrightability, and AI training.
A strong comic strip is a small promise kept on time. Define one visible change, prove the rhythm in thumbnails, keep the continuity anchors fixed, and save exact words for the editable lettering pass. When a second reader reaches the final panel without explanation and understands why it matters, the strip is ready for polish.
Author

Categories
In this guide1. Choose one moment, not a whole plot2. Build a three-beat comic stripSetup: create a clear expectationTurn: change the situationPayoff: answer the opening promise3. Assign one job to every panel4. Thumbnail the reading order5. Write dialogue that fits6. Keep characters consistent7. Draft the art with Anime Maker8. Letter and publish the final stripRun four separate review passesMake the strip accessible when publishing onlineCheck rights before postingA 45-minute practice stripComic strip publishing checklistFrequently asked questionsHow many panels should a comic strip have?How do I make a comic strip if I cannot draw well?Should I put dialogue in the image-generation prompt?What is the difference between a comic strip maker and an AI comic generator?How can I keep a character consistent across panels?Can I publish an AI-assisted comic strip?Sources and further reading
More Posts
Production guides
Anime Camera Angles: A Practical Storytelling Guide
Plan anime camera angles that clarify story, emotion, and screen direction. Compare shot sizes, build a shot list, and write prompts you can test.
Production guides
Comic Panel Layout Guide: Control Flow and Pacing
Use this comic panel layout guide to plan readable grids, gutters, focal panels, dialogue space, page turns, and mobile-friendly story flow for print or phone.
Production guides
Comic vs Manga vs Manhwa: A Practical Comparison
Compare comic vs manga vs manhwa by publishing tradition, reading direction, color, layout, serialization, workflow, and the format your story needs most.
Newsletter
Join the community
Subscribe to our newsletter for the latest news and updates