
01
Name the panel job
Choose one purpose—establish, reveal, react, confront, transition, or resolve—and write what visibly changes.
Comic panel generator
Describe one visible story moment, its camera position, the character action, the important prop, and the space that final lettering will need. The live tool creates one flattened square comic image on this page—not a multi-panel page, editable layout, or reusable character model.
Write what the reader should understand from this frame before adding style adjectives. Sign-in, available access, provider configuration, credit rules, safety checks, and generation errors are handled by the live image workflow below.
Higher-detail generation for paid plans
Example outputs
What one focused input can produce
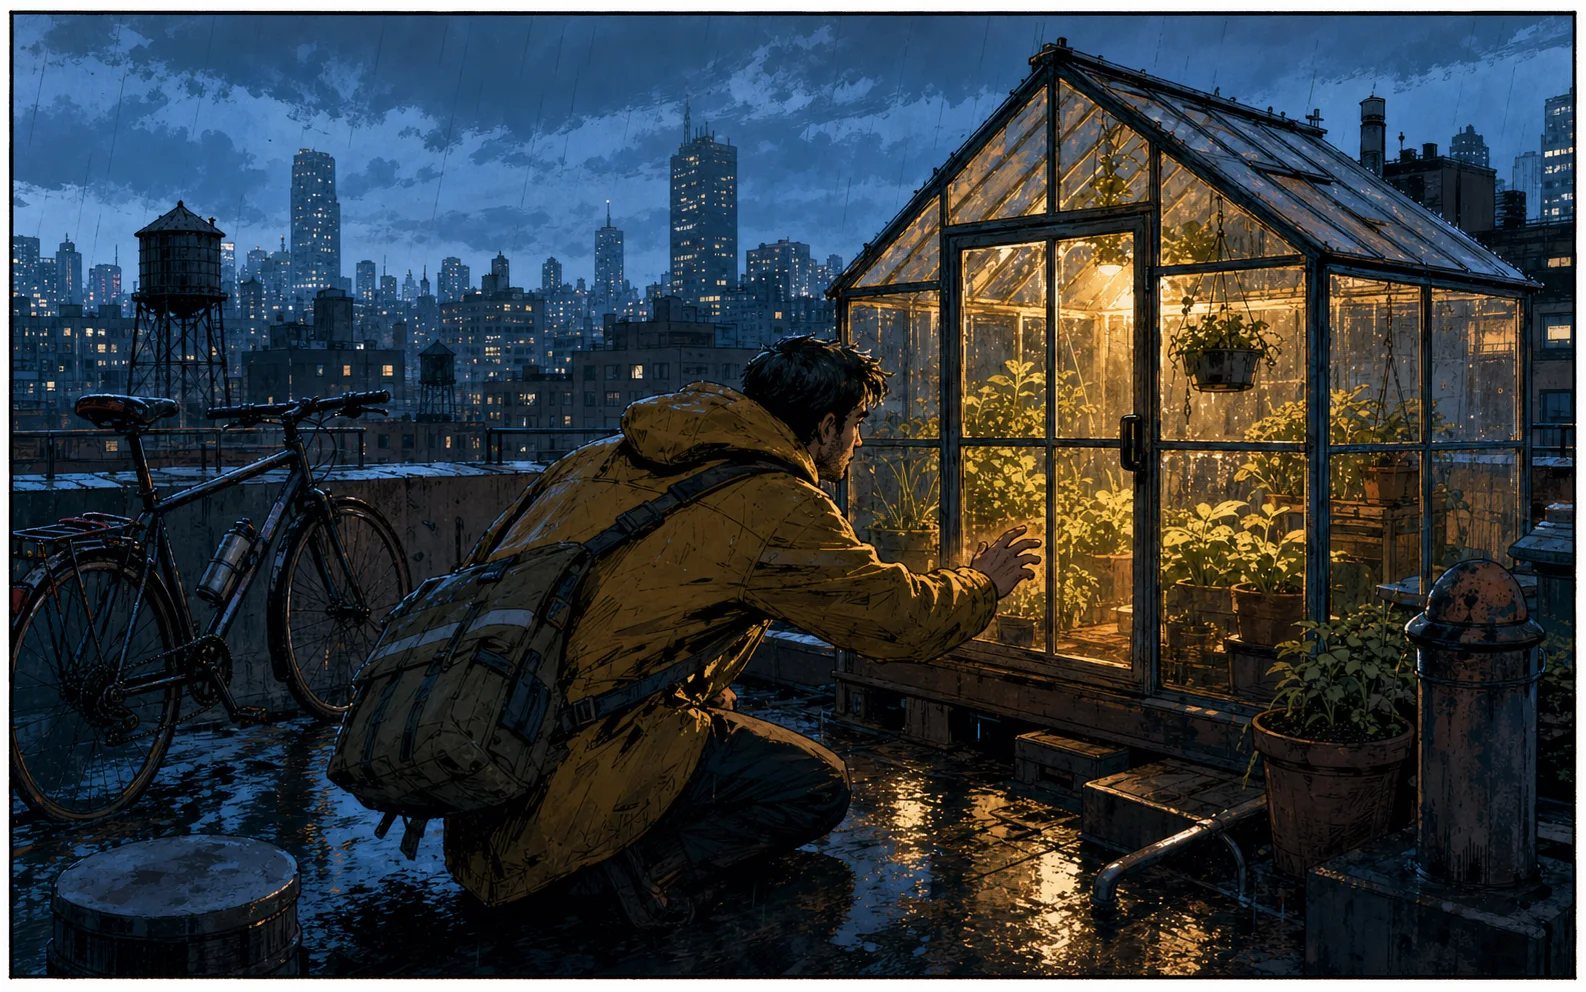
Standard image
Advanced image
1024 × 1024
one new flattened square raster image per completed run
One panel
single moments, reaction shots, establishing shots, and visual beats
Finished later
final dialogue, panel borders, layers, print setup, and continuity approval
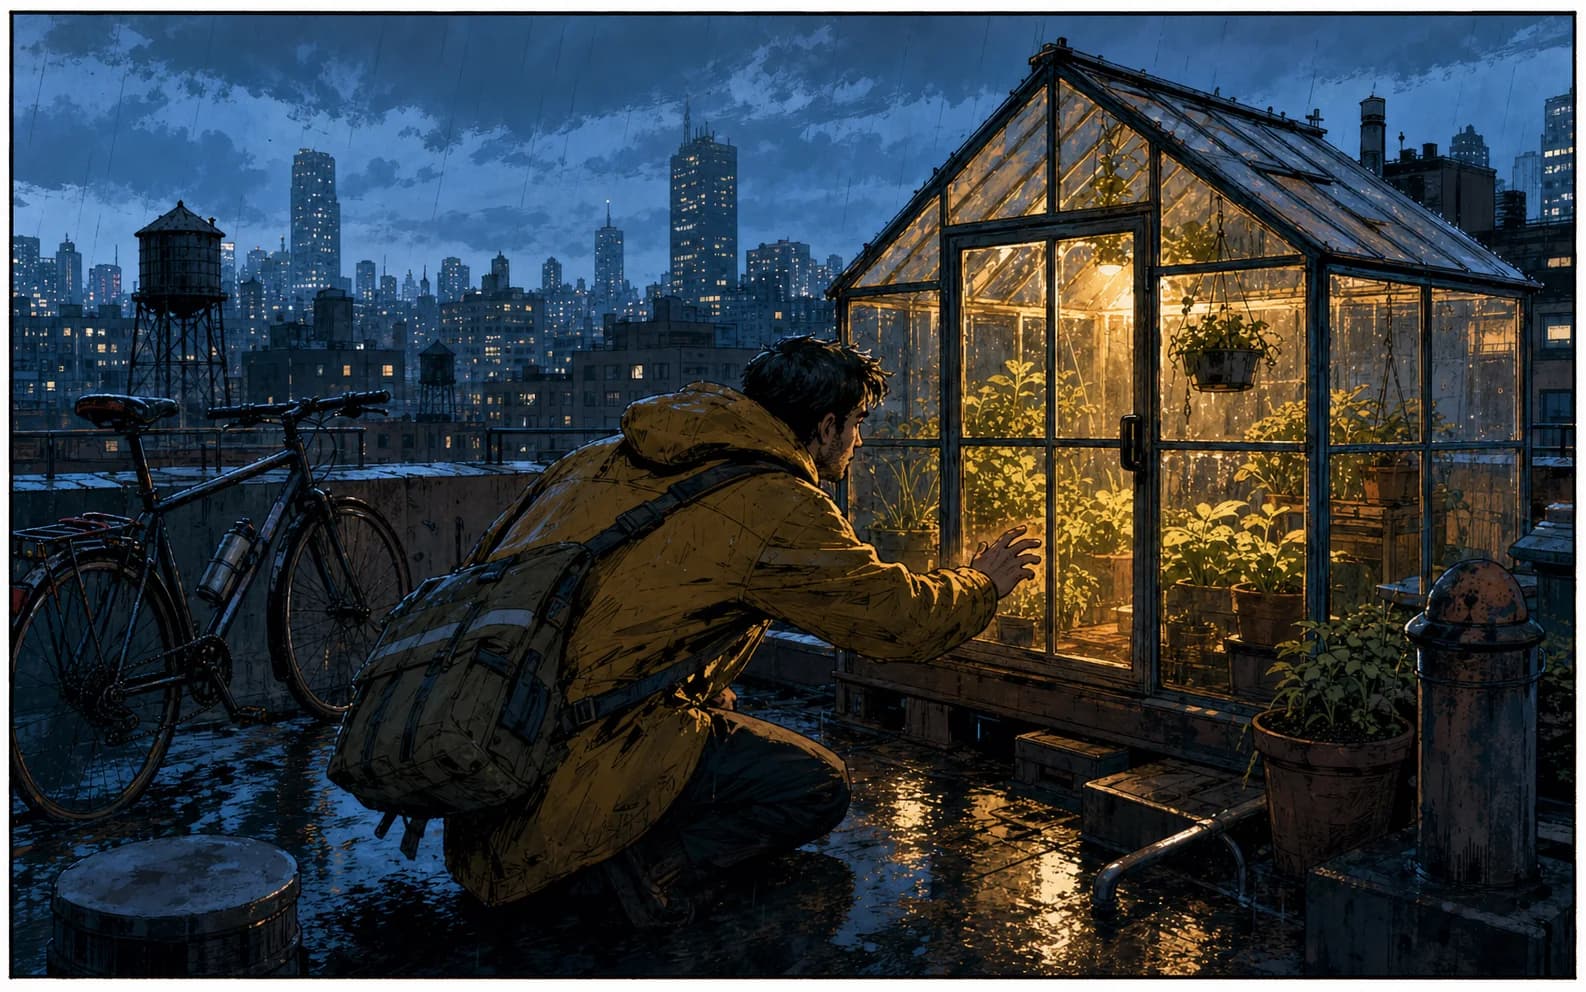
This original editorial example uses a recurring jacket, bicycle, warm doorway, and low camera angle to make discovery readable without dialogue. It is representative proof of the kind of single-frame composition the prompt method targets; the live tool returns its own newly generated square image.
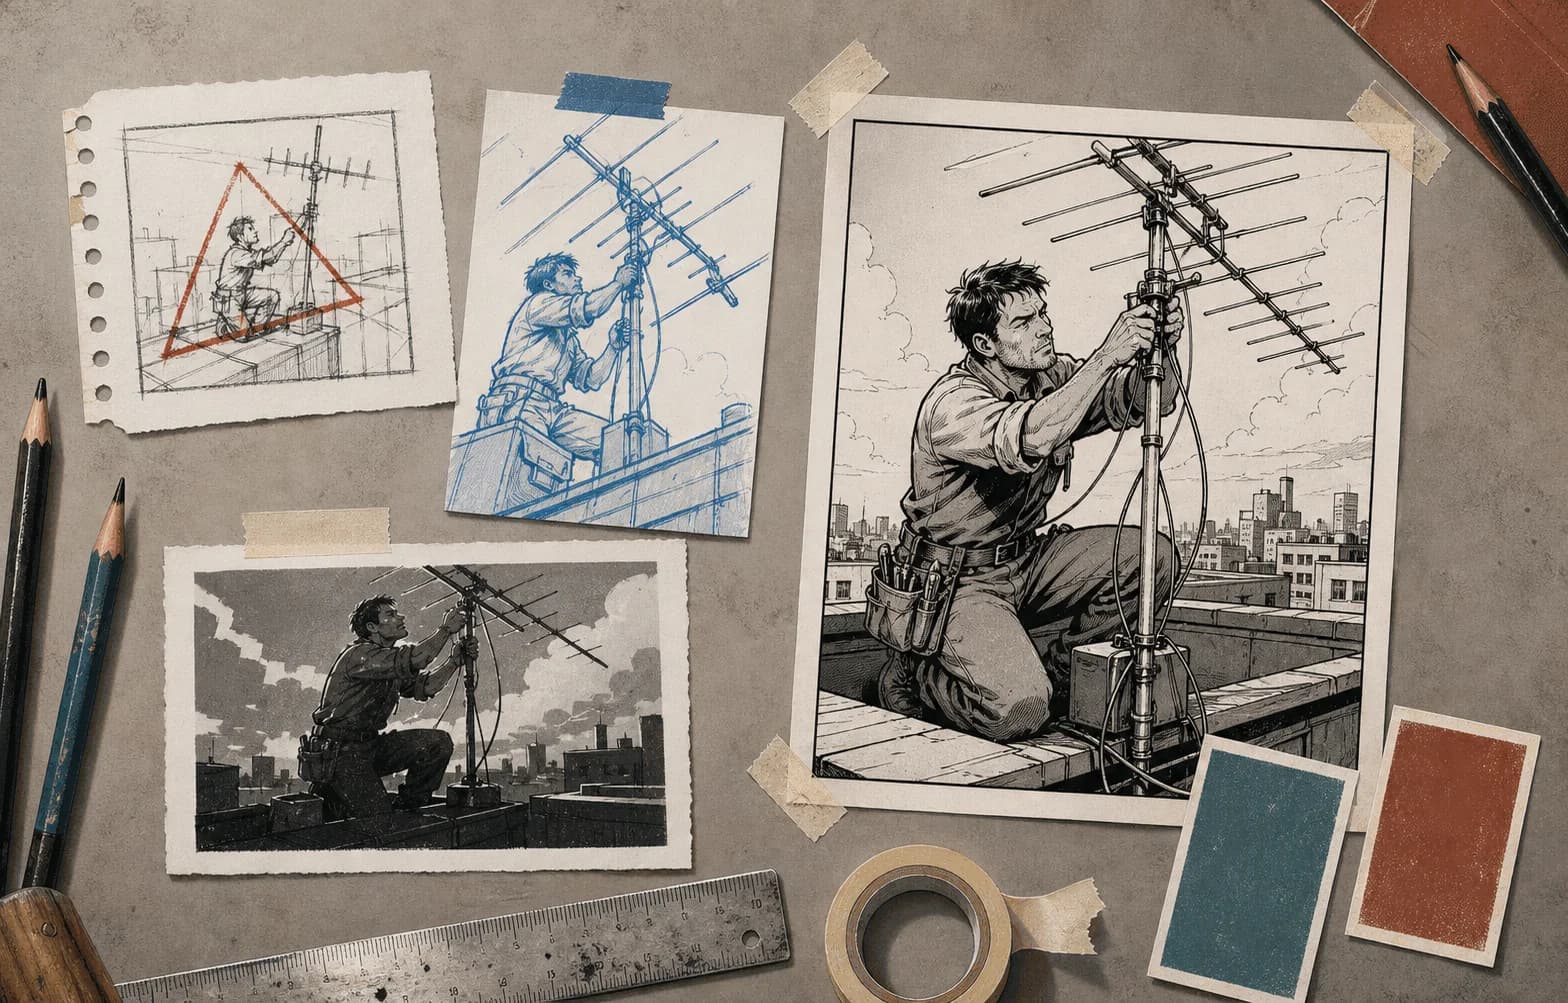
The worktable shows four separate decisions: focal triangle, camera position, value grouping, and final ink. A generated panel still needs the same review sequence even when the first image arrives quickly.
01
Choose one purpose—establish, reveal, react, confront, transition, or resolve—and write what visibly changes.
02
Repeat only the features that must survive: age, silhouette, clothing color, prop, location, and time of day.
03
Specify shot size, viewpoint, subject position, gaze, contact points, depth, and intentional negative space.
04
Check whether the action reads before zooming into hands, anatomy, perspective, accidental symbols, and texture.
05
Paint over errors, add exact lettering and borders, prepare accessibility text, and export for the real destination.
Search task and scope
A comic panel is a bounded unit of visual storytelling. It can establish a place, reveal a clue, show a reaction, stage a physical action, or create a pause between larger events. This page is intentionally narrower than the site’s AI comic generator and comic strip maker. The live tool creates one square raster image from one text prompt. It does not decide how several panels should fit on a page, keep a cast identical across a chapter, or return movable frames, balloons, masks, vectors, or layered production files. That boundary matters because a single-panel brief can give composition and action more room than a request that asks one image to contain a whole episode.
Start by writing the sentence a reader should be able to infer from the picture. “Mara discovers the greenhouse has been kept alive” is a panel job. “Mara has a complicated past and eventually saves the district” is a plot summary, not a visible moment. Translate the job into observable evidence: a hand pauses at a wet door, an unexpected warm light contrasts with the city, and the bicycle shows how the courier arrived. If the intended meaning depends entirely on a caption, strengthen the visual clue before generating. The later caption should add voice or context rather than rescue an unreadable image.
There are no editable layers, vectors, balloons, panel borders, masks, depth maps, or print templates.
Repeated wording can guide a brief, but independent runs can change faces, bodies, clothing, props, and color.
Request unlettered art and add exact dialogue, sound effects, credits, and translations in an editor.
Hands, perspective, mechanisms, uniforms, history, and other details may be wrong despite polished rendering.
Sign-in, credits, provider availability, moderation, timeouts, and generation failures can affect a request.
Use original or authorized material and review similarity, licenses, platform terms, and intended commercial use.
Reviewed 2026-07-22 · Anime Maker product and editorial team
Page illustrations are editorial examples, not live account task logs. Judge the tool by the result shown in your own output panel.
No. It creates one square raster image per completed generation. Use the AI comic generator or comic strip maker for a compact multi-panel composition, then use a real editor for final layout.
Generated text is not dependable. Ask for quiet space or empty balloon areas, then add verified dialogue as editable type after the art is selected.
Reuse a short set of concrete anchors and review against a character sheet, but expect drift. This text-only page does not train or lock an identity.
Include the panel job, original subject, visible action, setting, shot size, viewpoint, continuity anchors, focal point, light, palette, medium, lettering space, and exclusions.
A focused panel is useful for pitches, storyboards, thumbnail tests, mood boards, editorial concepts, classroom exercises, and early comic production. It is less suitable when the requirement is a legally exact likeness, a protected franchise character, an established cast that must remain identical, complex technical accuracy, or a final print page. In those cases, use authorized references, a documented character package, a human artist, specialist technical review, or a controlled illustration pipeline. Image generation can accelerate exploration, but it does not remove authorship, review, rights, and production responsibilities.
Panel purpose
Even when only one panel is being generated, it belongs to an implied sequence. Ask what the reader knew before this frame and what they know after it. An establishing panel changes orientation: the reader now understands the location and scale. A reaction panel changes emotional knowledge: the reader sees that a character is alarmed despite calm dialogue. A reveal changes story information. An action panel changes physical state. Writing that before/after pair prevents the prompt from becoming a list of attractive objects with no narrative hierarchy.
Choose one primary beat and at most one supporting beat. A courier reaches for a door while a greenhouse light comes on can work because both actions describe the same discovery. Adding a collapsing tower, a second chase, a crowd, three dialogue exchanges, and a flashback forces unrelated time into one frame. The generator may blend the instructions or make every object equally loud. If several beats are essential, split them into separate panel requests and assemble the sequence in a comic editor. A strong frame is selective; it tells the reader what to notice now and postpones other information.
Write the panel label in production language: panel number, story job, subject, action, emotional turn, and continuity requirement. For example: “Panel 12, reveal; low wide shot; Mara kneels at the greenhouse; cautious curiosity becomes recognition; keep ochre jacket and black bicycle.” This note can live in a script or shot ledger even though the generator only receives the visual prompt. It gives reviewers a standard. They can reject a beautiful result when it fails the reveal, instead of approving it because the rendering looks polished.
Camera and staging
Shot size controls what information has priority. A wide shot can explain geography, body position, and environmental scale; a medium shot supports gesture and interaction; a close-up prioritizes expression or an object. Viewpoint adds meaning: looking up can make architecture or a person imposing, looking down can expose vulnerability or layout, and eye level can feel observational. State the camera height and angle only when they support the panel job. “Cinematic” alone does not tell the system where the subject belongs or which information must remain visible.
Stage the subject in layers. Name a foreground edge or prop when it adds depth, put the main action in the midground, and simplify the background into a few location cues. Specify where the gaze or gesture leads. If final dialogue needs the upper left, keep high-contrast faces and essential props out of that zone. Negative space is not empty decoration; it is reserved production capacity. Generated art may still fill it, so treat the prompt as a request and inspect the actual result before building a balloon or caption around it.
Avoid incompatible camera instructions. A full-body extreme close-up, a top-down view that clearly shows the face, or a wide establishing shot dominated by a tiny hand detail asks the composition to do contradictory jobs. Choose the information that matters and permit other details to recede. When perspective is structurally important—stairs, machinery, vehicles, architecture, or hands gripping tools—generate a simpler version first or provide a human-drawn perspective plan in a workflow that actually accepts references. This page is text-to-image and does not promise geometric fidelity.
Characters and continuity
For an original character, describe a compact set of visible anchors: approximate adult age, body silhouette, hair mass, dominant garment, two colors, one accessory, and one prop. Use the same wording whenever the character appears in another independently generated image. Concrete anchors such as “cropped ochre rain jacket, short dark curls, square gray messenger bag” are easier to inspect than broad labels such as “cool protagonist.” Keep a reference sheet and palette outside the generator so the team agrees on the target even when a result drifts.
Repeated prompt language improves the brief but does not create a trained identity model or deterministic character lock. Facial proportions, hands, clothing seams, accessories, height, and color can change between runs. This page also does not accept a character sheet or image reference in its standard single-panel mode. For a recurring series, select generated results as concepts, then redraw or paint over them to an approved model sheet. Record which details drift most often and include only the visible high-risk anchors in the next prompt.
Continuity also includes environment, light, weather, damage, carried objects, and screen direction. A character cannot hold a key introduced after the panel, wear a dry coat immediately after heavy rain, or face the opposite direction during an unbroken conversation without a reason. Maintain a shot ledger with previous-state and next-state notes. The generator has no memory of earlier panels, so the production file—not the model—must carry continuity. Review the image against that file before spending time on polish.
Lettering space
Image models can produce convincing letter-like marks while misspelling names, punctuation, sound effects, and ordinary dialogue. For publishable work, ask for no written text and reserve calm space where balloons or captions can be added later. The panel generator returns flattened art; it does not create editable balloon shapes, tails, text styles, or transcripts. Import the selected image into a comic, illustration, or layout application and keep lettering on separate layers so wording and translation can change without repainting the scene.
Plan balloon order with the reading direction of the final comic. The first balloon should sit where the eye arrives naturally, tails should point to unambiguous speakers, and essential faces should not be covered. Test with real dialogue rather than lorem ipsum because word length determines balloon size. A phrase that fits in English may expand in German, Spanish, French, or another localization. If the translated balloon obscures the action, edit the line or adjust the composition in the editable layout; do not shrink type below a comfortable reading size.
Accessibility is part of the lettering handoff. Preserve a transcript of dialogue and sound effects, write alt text that describes the story-relevant action, and avoid communicating a plot distinction through color alone. A panel with no dialogue may still need an accessible description. Do not embed important text only inside a raster export. The unlettered master, editable lettering file, approved script, transcript, and final flattened version should remain connected by consistent filenames and version notes.
Prompt construction
A practical order is panel job, original subject, visible action, location, camera, continuity anchors, focal hierarchy, light, palette, medium, lettering space, and exclusions. This order gives narrative requirements priority over decorative style. Use complete physical relationships: “left foot planted on the wet parapet, right hand holding the door handle” is easier to evaluate than “dynamic pose.” Name materials when they affect the image—fogged glass, wet concrete, brushed metal—but avoid filling the prompt with texture that competes with the focal action.
Describe visible properties rather than requesting a named living artist, studio, comic franchise, or protected character. An original direction might specify dry brush ink, restrained cel color, angular shadows, limited spot color, or rough newsprint texture. Rights and similarity still require review even when the prompt avoids names. Inspect symbols, costumes, silhouettes, signatures, and background marks for accidental resemblance. The tool does not grant rights to prompts, references, generated content, or downstream uses.
Change one major variable per regeneration. If the action is unclear, rewrite the action and simplify the scene before changing palette, costume, and camera at the same time. Save the prompt and result that each test used. This creates a small evidence trail: the team can identify which instruction improved the panel rather than treating every generation as an unrelated lottery. Stop regenerating when the composition is good enough to finish more predictably by hand.
Image review
First view the panel at the size readers will encounter. Can a reviewer identify the subject, action, focal object, and emotional direction in a few seconds? Does the eye move to the intended clue? Is the reserved lettering area actually quiet? If not, fix composition rather than spending time on eyelashes or texture. Grayscale review can reveal whether the focal point depends on weak color differences. A mirrored view can expose tangencies and balance problems that familiarity hides.
Then inspect anatomy, hands, feet, contact points, reflections, repeated objects, perspective, edges, symbols, and text-like artifacts. Check that a bicycle has coherent wheels, a door can open, fingers connect plausibly, and rain reflections match the environment. Generated detail can look authoritative while being structurally false. For medical, historical, technical, or safety-critical scenes, have a qualified person review the content and replace uncertain invention with verified reference.
Finally compare the frame with adjacent approved panels or the story bible. Check clothing, color, weather, prop state, screen direction, eye line, injury, time, and location. A beautiful isolated image can still break the sequence. Mark the difference between generator output and human correction in the production archive. Do not present the example image on this page, or any generated draft, as evidence that every prompt will produce the same quality or consistency.
Finishing and export
The live result is a square raster image. If the final comic needs another ratio, decide whether to crop, extend, repaint, or regenerate. Do not stretch the image. Protect the focal action and reserve bleed and trim only after obtaining current specifications from the publisher or platform. A 1024-pixel concept may be suitable for digital planning but may not provide enough detail for a large print reproduction. Judge effective resolution at final placed size and rebuild important linework where necessary.
Keep a non-destructive master with the original result, paint-over corrections, color adjustments, balloons, captions, sound effects, borders, and export guides separated. Remove accidental marks and verify exact dialogue, credits, dates, names, and legal copy against an approved source. Export a web version, any platform-specific crops, and a production version from the same master rather than repeatedly recompressing the last JPEG. Open each export independently to catch missing layers, color shifts, and wrong dimensions.
Archive the prompt, generation date, source and reference permissions, result, edit file, fonts, final script, alt text, approvals, and delivery settings. If the panel will be published commercially, review applicable provider terms, platform rules, character originality, trademark concerns, and local law. This record does not guarantee legal status, but it makes the creative chain reviewable and allows a future editor to correct or localize the work without guessing what happened.
Adjacent tools
Use the AI comic generator when the search task is a compact multi-panel page concept, and use the comic strip maker when the story depends on a setup, turn, and payoff across three or four frames. Use the comic book maker when you need a planning document for several pages rather than generated finished art. These tasks share vocabulary but require different interfaces and review criteria. Keeping them separate prevents a single page from claiming it can generate, lay out, letter, and manage an entire comic when the actual output is one raster image.
Use the comic panel splitter when a finished page already exists and you need deterministic rectangular crops for separate publishing or review. Splitting does not create new art. Use comic-to-video when one authorized panel should become a short image-guided video through the actual video generator. That process introduces motion drift, timing, credits, premium access, and a different output format. Internal links are placed here to help the reader move to the next concrete task, not to disguise unrelated keywords as features of this panel generator.
If the task requires exact recurring identity, editable vector art, layered PSD delivery, final typography, page imposition, print preflight, or automatic series consistency, plan a human-controlled production workflow. A useful tool page should make its boundary obvious enough that readers can choose well. The value of this generator is concentrated exploration of one visual moment; the reliability of a finished comic still comes from scripting, art direction, review, correction, lettering, and documented export.
Treat it as concept art first. Check effective resolution at final size, repaint defects, obtain the current printer specification, add bleed and typography in a proper layout file, and review rights.
It is a curated original editorial example illustrating composition decisions. The live tool generates a new 1024×1024 image from the submitted prompt and may vary.